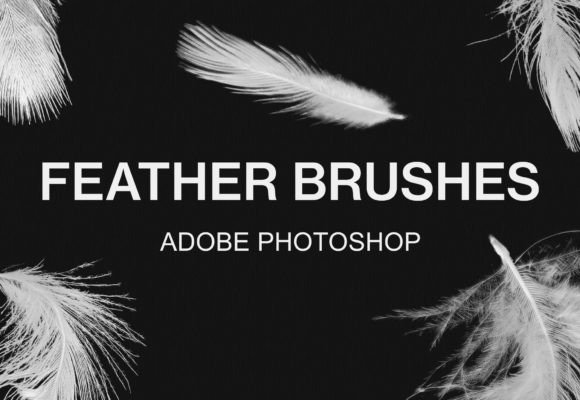
Mastering Soft Edges: A Practical Guide to the Photoshop Feather Brushes Pack
Digital art and photo manipulation often live or die by the quality of their transitions. Harsh lines can make a composite look fake, while soft, organic edges create depth and realism. This is precisely where a dedicated Photoshop Feather Brushes Pack becomes an indispensable tool in your creative arsenal. Whether you are a seasoned graphic designer, a hobbyist photographer, or a marketer creating social media assets, understanding how to properly integrate and utilize these tools can significantly elevate your workflow.
However, simply downloading a bundle of brushes is not a guarantee of better results. Many creators overlook the nuances of brush dynamics, compatibility, and installation, leading to frustration and subpar outputs. By addressing common pitfalls and providing clear, actionable guidance, we can ensure you get the most out of your 20 photoshop feather brushes pack for adobe photoshop or gimp.
The Hidden Value of Specialized Feather Tools
Feather brushes are designed to simulate natural softness. Unlike standard hard-round brushes, they offer gradual opacity falloff from the center to the edge. This characteristic is crucial for tasks such as skin retouching, creating atmospheric fog, blending color gradients, or adding subtle highlights. The primary mistake many beginners make is assuming that any soft round brush will suffice. While standard tools work for basic tasks, a curated Photoshop Feather Brushes Pack offers varied textures and edge behaviors that standard defaults lack.
When you rely solely on default settings, your work can appear generic. Custom feather brushes introduce irregularity and organic flow, which the human eye perceives as more authentic. For professionals, this means less time spent manually blurring edges or adjusting layer masks. For entrepreneurs and small business owners, it means producing higher-quality visual content without needing extensive manual editing skills. The efficiency gain is substantial, but only if the brushes are chosen and applied correctly.
Common Missteps in Selection and Usage
One of the most frequent errors occurs during the selection phase. Users often download massive bundles containing hundreds of brushes, assuming more is better. In reality, a focused collection, such as a 20 photoshop feather brushes pack, is often more effective. Large bundles can clutter your interface, making it difficult to find the right tool quickly. This decision paralysis slows down your creative process. Instead of hunting through endless options, a smaller, high-quality set allows you to master specific brush behaviors.
Another critical misunderstanding involves pressure sensitivity. Many users install feather brushes but fail to configure their tablet settings or brush dynamics properly. If you are using a graphics tablet, the brush should respond to pen pressure, varying opacity and size naturally. Without this setup, even the best Photoshop Feather Brushes Pack will feel stiff and unresponsive. Always check your brush settings panel to ensure "Shape Dynamics" and "Transfer" are linked to pen pressure. This simple adjustment transforms a static stamp into a dynamic painting tool.
Additionally, overlooking resolution constraints can ruin your final output. Feather brushes rely on pixel-based softness. If you use a low-resolution brush on a high-resolution canvas, the edges may appear pixelated or blurry in an unnatural way. Always ensure that the brush tip shape is suitable for your document’s DPI. For print work, higher fidelity is required, whereas web graphics can tolerate slightly softer definitions. Checking these details before starting a project prevents costly reworks later.
Ensuring Compatibility: Photoshop and GIMP
A significant advantage of modern brush formats is cross-platform compatibility. Many creators assume that brushes are locked to specific software ecosystems. However, the Photoshop Feather Brushes Pack discussed here is versatile. It includes an ABR file, which is natively supported by Adobe Photoshop, but it is also compatible with GIMP, a powerful open-source alternative. This flexibility is vital for freelancers and educators who may work across different systems or budgets.
For GIMP users, a common mistake is attempting to load ABR files through the standard import menu without placing them in the correct directory. GIMP handles external brushes differently than Photoshop. If you simply try to "open" the file, it may not register as a usable brush tip. Understanding the file structure of your software is essential for seamless integration. By following the correct installation paths, you ensure that your tools are ready when inspiration strikes, avoiding technical interruptions that break creative flow.
Step-by-Step Installation Guide
To help you avoid installation errors, here is a clear breakdown of how to set up your brushes in both major platforms. Following these steps ensures that your 20 photoshop feather brushes pack for adobe photoshop or gimp is ready for immediate use.
How to Use the Brushes with Photoshop
Adobe Photoshop has streamlined the installation process for ABR files. Follow these steps for a hassle-free setup:
- Unzip the file: Locate the downloaded archive on your computer and extract the contents. You should see an .abr file inside.
- Double-click the ABR file: This is the quickest method. Simply double-click the extracted .abr file.
- Automatic Loading: Photoshop will launch automatically (if it isn’t already open) and load the brushes into your current brush preset panel.
- Be Creative: Select the Brush Tool (B), scroll to the bottom of your brush list, and start experimenting with the new feather tips.
How to Use the Brushes with GIMP
GIMP requires a manual placement of files into its specific directory structure. This process is slightly more technical but ensures permanent access to your tools:
- Locate the GIMP Folder: Search your local disks for the GIMP installation folder. On Windows, this is typically found under "Program Files" or "AppData."
- Navigate the Path: Follow this specific directory path: GIMP 2 > share > gimp > 2.0 > brushes. Note that version numbers may vary slightly depending on your update status.
- Unzip the Download: Extract the contents of your downloaded brush bundle to a temporary location.
- Copy and Paste: Copy the .abr file and paste it directly into the "brushes" folder identified in step two.
- Refresh and Create: Restart GIMP or refresh the brush dialog. Your new feather brushes will now appear in the list. Be creative and test them on a new layer.
Making the Right Choice for Your Workflow
Before committing to any digital asset, consider your specific needs. Are you primarily doing photo retouching? Do you need soft edges for digital painting? Or are you looking to add texture to graphic design elements? A Photoshop Feather Brushes Pack is particularly useful for those who need consistent, repeatable soft effects. If your work involves heavy compositing, having a reliable set of feather brushes can save hours of mask refinement.
It is also wise to test the brushes on a sample project before integrating them into client work. Check how they blend with different opacity settings and flow rates. Ensure they interact well with other layers and blending modes. This due diligence prevents surprises during critical deadlines. Remember, tools are only as good as the user’s understanding of them. Taking the time to learn the nuances of your new brushes pays dividends in quality and speed.
For those looking to expand their toolkit further, exploring additional resources can provide complementary tools. Visit our shop for more brush bundles that cater to various styles and techniques. By continuously refining your digital toolbox, you maintain a competitive edge in the creative industry. Whether you are using Adobe Photoshop or GIMP, the right brushes empower you to execute your vision with precision and ease.